Design a wedding album: How to choose your photos
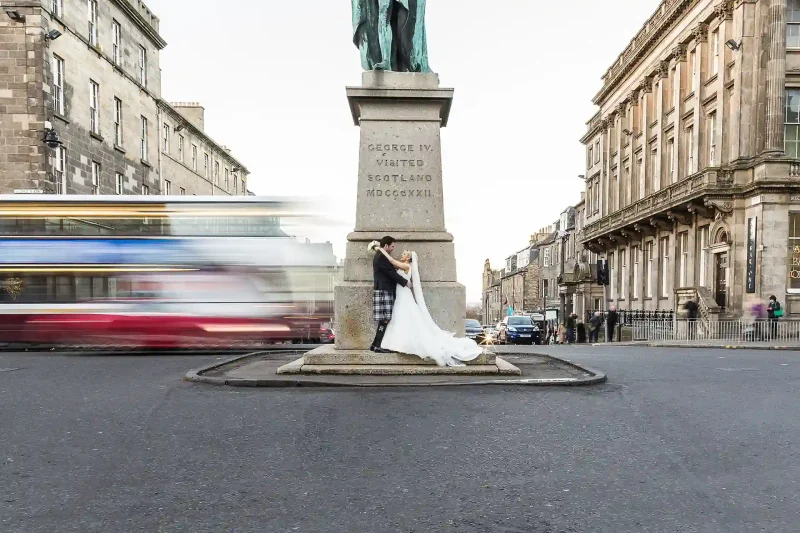
We’ve had the honour of being your Edinburgh wedding photographer, and now it’s time for us to design a wedding album for you using your choice of photos!
We design your album using your selected photos, expertly curated with our guidance below.
Selecting photos for us to design a wedding album is straightforward and will cost you only your time.
The more effort you invest in this process, the happier you will be with the result.
Make your favourite drink, sit down, relax, and learn how to choose photos that will help us design a wedding album for you.
If we photographed your wedding, choosing the photos for your album couldn’t be easier. This is done in your online gallery, where your images are displayed. We can provide more detailed advice upon request.
Even if you don’t hire us as your wedding photographer, we can still create a beautiful album for you. We usually advise choosing your images on a desktop or laptop. Access to a mouse and keyboard can make photo selection faster and easier.
Alternatively, if you prefer to view your photos on an iPad or similar device, writing down your selection by hand is usually easier.
Storytelling | favourite photos | pleasing everyone
The main decision is whether to tell the day’s story, curate a collection of your favourite photos, or aim to please everyone who will see the album (parents, grandparents, etc.), or a mix of these options.
But what exactly do these options mean?
Method 1: Telling The Story Of Your Wedding Day
Telling the story of your wedding day involves selecting photos from each part of the day to create a comprehensive, compelling start-to-finish narrative.
Tip: Break the day into logical parts and allocate several photos to each part. For example, you could divide your wedding day as follows:
- bridal preparations
- guests arrivals
- wedding ceremony
- drinks reception
- family pictures
- newlywed photos
- speeches
- cake cutting
- dancing
Then, allocate a few photos to each part of the day. For example, the list above has nine parts, so you could allocate 10 newlywed photos plus 4 photos to each part of the day, totalling 50 photos, which is ideal for a 30-page wedding album.
Adjust the parts of the day to suit your wedding day and allocate the number of photos to each part based on how many pages/photos you would like in your album:
Use the following to guide the number of pages your album will likely contain: the more pages, the more you will pay for the album.
Our albums range from 30 to 80 pages.
- 30 pages = approximately 50 images
- 40 pages = approximately 65 images
- 50 pages = approximately 80 images
- 60 pages = approximately 95 images
- 70 pages = approximately 110 images
- 80 pages = approximately 125 images
Using the ‘storytelling method’ to choose your photos ensures that anyone looking at your wedding album for the first time will have an excellent insight into your wedding day: the people, the clothes, the setting, and all the little details that made your day unique.
Pros: Your wedding album will capture every aspect of your wedding day. Over the coming years, you can look at your wedding album and see what made the day so wonderful.
Cons: It’s easy to get carried away and select many more images for your album than with other methods. If your wedding album budget is limited, you might need to be ruthless when culling photos from your selection!
Method 2: Choosing Your Favourite Photos
Choosing your favourite photos for us to design a wedding album is self-explanatory.
Your selection might not necessarily ‘tell the story of the day’, but you have chosen your favourite photos to appear in the album.
For example, you might decide that although you like the photos of the bridal preparations, they aren’t your favourite photos of the day, and you would rather dedicate more pages to your newlywed photos.
The result is an album that might not contain photos of ‘detail shots’ (rings, flowers, etc.) or photos of guests, but what matters is that you have picked your favourite photos.
Pros: Your wedding album is entirely created with your favourite photos without compromise.
Cons: You might regret not including photos of other parts of the day.
Method 3: Pleasing Everyone
This option is for anyone with an extended family who wants to keep parents, grandparents, and other relatives happy.
Perhaps you want to include mini-albums for friends or family and feel obliged to include a few pictures of them.
Every family is different, and sometimes, when we design a wedding album, remembering a wedding day is often about gathering family and friends, and your album can reflect that.
A wedding album can also be an essential family document, something you can show and be proud of for years.
The emotional value of your wedding album will increase over time, especially if you have children or grandchildren and want to view pictures of them in the years ahead.
Pros: Including photos of family and friends will bring a smile to their faces when they see the album. That can be priceless.
Cons: Pleasing everyone else can mean not pleasing yourself. It’s your wedding album, and pleasing everyone is not always possible.
Design a wedding album: the photo selection process
Now that you have an idea of your wedding album’s purpose (telling a story, featuring your favourite photos, pleasing everyone), it’s time to choose a process for selecting photos so we can design your wedding album.
Most of our clients will have a folder containing several hundred wedding photos. How do you narrow this number of pictures to a collection suitable for us to design a wedding album?
We recommend three methods: 1. culling, 2. picking, and 3. writing down.
Pick which method you feel most comfortable with.
Culling
Culling photos is straightforward. You will delete any images you do not want in your wedding album, and we will use the remaining photos to design it.
- We suggest backing up the wedding photo folder on your device. Create a new Google email (Gmail) address, and you will receive enough free storage to store your photos in the cloud. Once your Gmail account is activated, you can upload all of your wedding photos into the free storage that comes with your Gmail account (the storage is called ‘Google Drive’). You now have a secure backup of your wedding photos, accessible from any internet-connected device. Don’t use backup photos when choosing your wedding album photos. The backup on Google is there just in case you accidentally delete any pictures or make a mistake.
- On your computer or laptop, create a copy of the folder containing all of your wedding photos. Name this copied folder ‘Wedding Album Photos’.
- Within the folder Wedding Album Photos, delete any colour photos you do not want to appear in your album. Leave the black-and-white photos for now. Be sure to compare similar photos (for example, there may be many similar photos of you with your immediate family—pick your favourite photo/s within that grouping, perhaps look for what facial expressions you prefer most, and delete the rest. If you are unsure between a few photos, leave them for now and move on to the next photo.
- Once you have reviewed all the colour photos, repeat Step 3 for all the black-and-white photos. Delete any black-and-white images you do not want in the album.
- Repeat Steps 3 and 4 until you are satisfied that you have removed all the photos you do not want in your album.
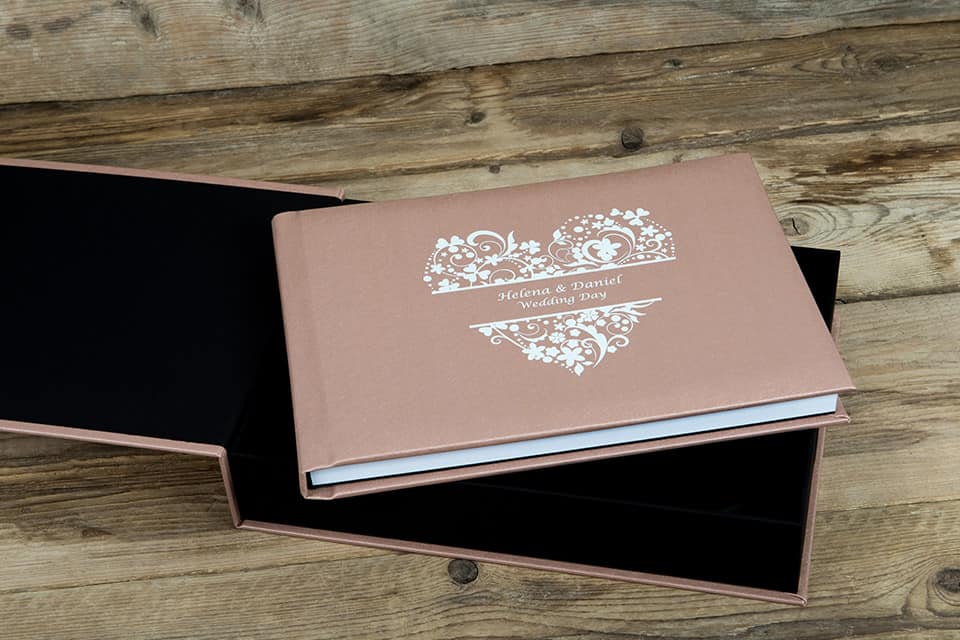
- Choose the cover for your wedding album and any upgrades to add to the album order. These options can be viewed here: Luxury Wedding Albums
- Please send us a list of the number of photo remaining in your folder, your album cover selection, and any upgrade options. You can email a spreadsheet with the list of numbers or the list of photos.
For example:
Cover: Acrylic front cover with Navy Blue Leatherette Spine and back cover + 2 Parent Albums with Navy Blue Leatherette coversPhotos:
1000
1010
1015
1030
1080
Picking
Another way to choose the photos to design a wedding album is ‘picking’. This method involves selecting your favourite images from one folder and placing them in another.
This second folder will contain all photos for the wedding album design.
- We suggest backing up the wedding photo folder on your device. Create a new Google email address, and you will receive enough free storage to store your photos in the cloud. Once your Gmail account is activated, you can upload all of your wedding photos into the free storage that comes with your Gmail account (the storage is called ‘Google Drive’). You now have a secure backup of your wedding photos, accessible from any internet-connected device. Don’t use backup photos when choosing your wedding album photos.
- On your computer or laptop, create a copy of the folder containing all of your wedding photos. Name this copied folder ‘Wedding Album Photos’.
- Create a new, empty folder and name this folder ‘Picked’.
- Go through the Wedding Album Photos folder and move any colour photos you want to appear in your album into the ‘Picked’ folder. Leave the black-and-white photos for now. Be sure to compare similar photos (for example, there may be many similar photos of you with your immediate family—pick your favourite photo/s within that grouping, perhaps looking for what facial expressions you prefer most. If you are unsure between a few photos, leave them for now and move on to the next photo.
- Once you have reviewed all the colour photos, repeat Step 4 for all the black-and-white photos. If you do not want any black-and-white photos in the album, ignore them.
- Repeat Steps 4 and 5 until you have selected all the photos you want in your wedding album.
- Choose the cover for your wedding album and any upgrades to add to the album order. These options can be viewed here: Luxury Wedding Albums
- Send us a list of the number part of each photo in your ‘Picked’ folder, your album cover choice, and any upgrade options. You can email a spreadsheet with the list of numbers or the list of photos.
For example:
Cover: Acrylic front cover with Navy Blue Leatherette Spine and back cover + 2 Parent Albums with Navy Blue Leatherette covers
Photos:
1000
1010
1015
1030
1080
Writing Down
If you don’t have access to a computer (desktop or laptop) and choose photos by viewing your online gallery or a folder of pictures on an iPad or notepad, you might find it most convenient to write down your selection on a piece of paper.
- We suggest backing up the wedding photo folder on your device. Create a new Google email address, and you will receive enough free storage to store your photos in the cloud. Once your Gmail account is activated, you can upload all of your wedding photos into the free storage that comes with your Gmail account (the storage is called ‘Google Drive’). You now have a secure backup of your wedding photos, accessible from any internet-connected device. Don’t use backup photos when choosing your wedding album photos.
- Access your wedding photos. You can view your pictures on your computer, iPad or phone.
- Now go through the folder containing your wedding photos and write down the number part from the names of the colour photos you want to appear in your album. Leave the black-and-white pictures for now. Be sure to compare similar images (for example, there may be many similar photos of you with your immediate family – pick your favourite photo/s within that grouping, and perhaps look for what facial expressions you prefer most. If you are unsure between a few photos, leave them for now and move on to the following image.
- Once you have reviewed all the colour photos, repeat Step 3 for all the black-and-white photos. If you do not want any black-and-white photos in the album, ignore them.
- Repeat Steps 3 and 4 until you have chosen all the photos you want us to use to design a wedding album.
- Choose the cover for your wedding album and any upgrades to add to the album order. These options can be viewed here: Luxury Wedding Albums
- Please send us a list of the numbers you have written down (the number part of each photo), your album cover choice, and any upgrade options. You can also email a spreadsheet with the list of numbers or the list of photos.
For example:
Cover: Acrylic front cover with Navy Blue Leatherette Spine and back cover + 2 Parent Albums with Navy Blue Leatherette covers
Photos:
1000
1010
1015
1030
1080
What happens next after we design a wedding album?
Once we receive your email detailing your photo selection for the wedding album, along with any upgrades, we will advise you of the estimated timeline for completing the album design.
Use the following to guide the number of pages your album will likely contain: the more pages, the more you will pay for the album.
Our wedding albums range from 30 to 80 pages.
- 30 pages can accommodate approximately 50 images
- 40 pages can accommodate approximately 65 images
- 50 pages can accommodate approximately 80 images
- 60 pages can accommodate approximately 95 images
- 70 pages can accommodate approximately 110 images
- 80 pages can accommodate approximately 125 images
Please note that the figures here are for guidance only.
We won’t know the exact page count until we design your wedding album and finalise the layout.
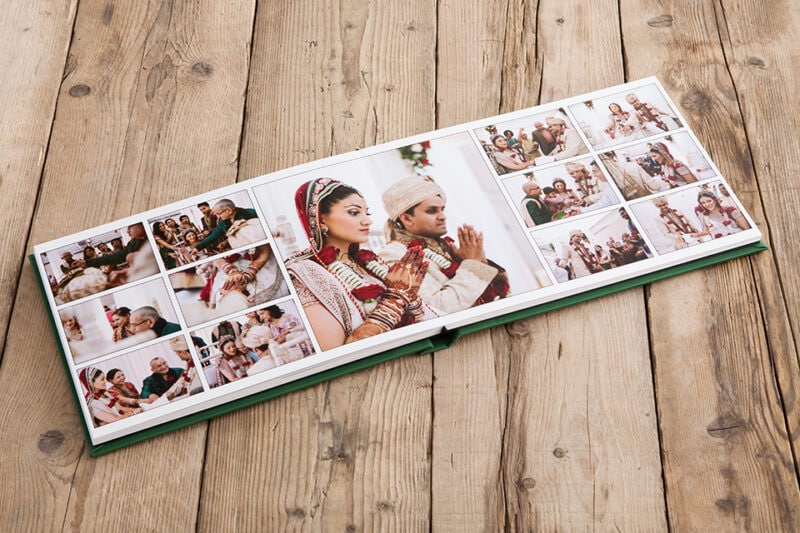
For example, if you choose 50 images, your album could require additional pages to accommodate your selection of images; we can usually fit about 50 images into a 30-page album but occasionally require 2 – 4 extra pages if you choose lots of pictures which look better spread over one or two full pages (group photos, newly-wed shots etc. usually look better spread over one or two pages, whereas details shots of the rings/flowers etc. typically work better as smaller images 4 to a page).
If you wish, you can increase the number of images and pages in the wedding album and pay a small additional fee to accommodate the additional pages.
The final step in designing a wedding album is to create a PDF of the design for review.
This will allow you to check the design before it’s sent for printing. Minor further editing is usually fine when we design a wedding album, but this can vary by album depending on the scale of editing required.
Once the design is approved, it is sent for printing and at this stage, it’s too late to make further changes!
When we design a wedding album, it’s printed and hand-finished in Scotland.
This means a fast turnaround, with completed albums usually ready to ship within ten working days.
Your completed order ships directly to you, and we typically add your mobile number and/or email address to the order so you can receive shipping updates.
Please don’t hesitate to contact us if you require any additional information or advice about how to design a wedding album.
Contact Us
We’d love to chat with you if you’re looking for an experienced photographer who can also offer expert advice on wedding photo albums.
Contact us to check our availability and schedule a meeting to view our albums!
Wedding Album Customer 5-Star Ratings

We are delighted with the photographs!
Thank you very much!! We really appreciate all the hard work you have done making our photos and album so special. We are delighted with the photographs!

I will certainly recommend you to our friends
Hi Jonathon, Just to let you know our album has arrived safely! It’s beautiful and we LOVE it! We couldn’t ask for a better wedding album to cherish! Thank you so much for all your help! We will certainly recommend you to our friends. Many thanks again, Claire and Kenny.
We truly cannot recommend you guys enough
Jonathon and Claire, we simply cannot put into words what an amazing job you guys did at capturing all the special moments on our big day! We got married in April 2025 at Balbirnie House and the photos/video are absolutely incredible. We are forever thankful we chose you guys to be a part of our wedding
Not only did you do such a fantastic job on the day, but to take time out your busy schedule to come and photograph my Dad who sadly could not attend the wedding at the last minute and merge him into the photos meant the absolute world to us and every single person that has seen them cannot believe how much it looks like he actually was there!
We truly cannot recommend you guys enough and wish we could do it all again. You both made this part of the day so special and memorable and for that, we cannot thank you guys enough ❤️
All of our loveI cannot recommend Love Wedding Photos & Film enough. The level of service we got ahead of getting married, on the actual day and the aftercare was superb. Jonathan was very attentive and made us all feel at ease when getting our photos done – our guests all commented how good he was on the day. We got the final pictures in good time and the quality of the output and the wedding albums we got were excellent. A great job overall – thank you so much for capturing our special day!
The album looks fantastic!
Thank you for our wedding photographs. We absolutely love them! The album looks fantastic!
Related Reading
- How to plan your engagement photos top tips
- Real weddings at Royal College of Physicians of Edinburgh wedding photographer captured beautifully
- Exclusive Signet Library wedding photographer wedding photography gallery